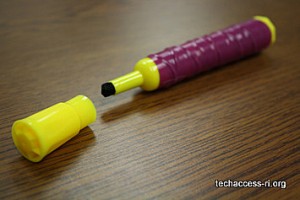
There’s touch technology all over the market these days, but you don’t have to pay a lot of money for a stylus!
Our crafty therapists have created this guide to show you how to make a stylus for pennies.
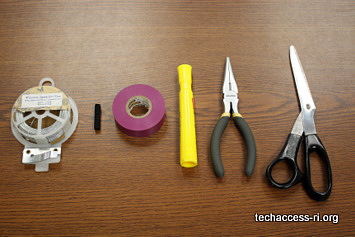
Materials Needed
- Plastic highlighter
- 3 feet bare wire. We used floral wire.
- Small piece of conductive foam*
- Electrical tape
- Pliers
- Scissors
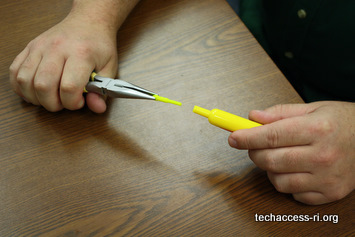
Start by removing the innards of the highlighter. Using pliers remove the tip, and the felt ink well by removing the end plug of the highlighter.
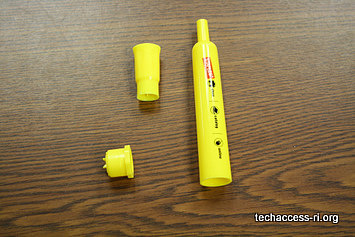
You will be left with these parts: an empty highlighter shell, the end plug, and the cap.
Thread your wire through the barrel of the highlighter so that you have wire coming out both ends.
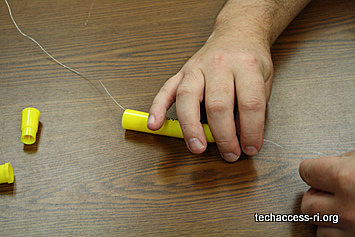
Tightly wrap the wire around your piece of foam, which should be cut into something about the size of a pen cap. Make sure the wire is tightly wound.
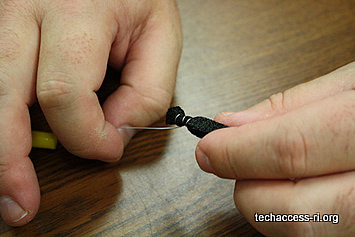
Grabbing the other end of the wire, pull the foam into the highlighter so that just 1/4 inch of the tip remains showing. This is the pointer for your stylus.
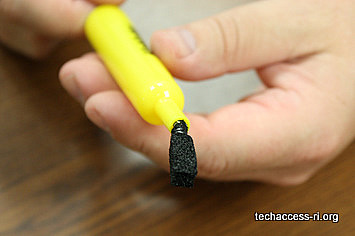
Wrap the remaining wire around the barrel of the highlighter, making sure that the wire covers the highlighter from top to bottom. A hand touching this wire is what creates the charge to control the touch screen.
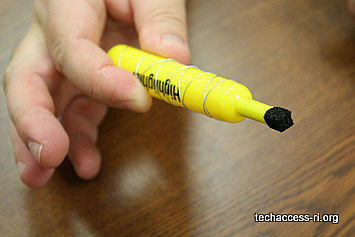
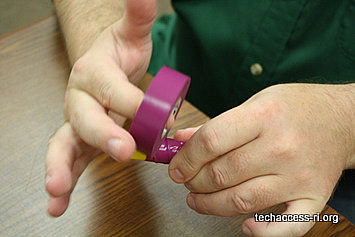
Using your electrical tape, wrap the barrel of the highlighter with the electrical tape. Many fun colors are available!
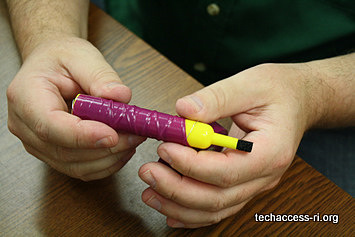
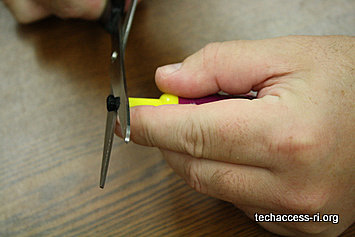
Trim the foam at the tip to a rounded point. Don’t trim too close! You still want about 1/4 of an inch of foam for your stylus tip.
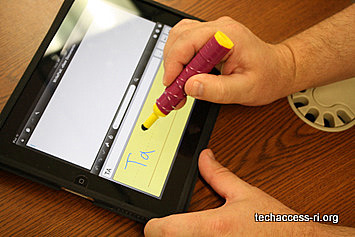
Congratulations! You’ve finished your stylus!
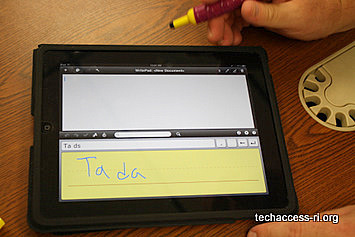
Variations from people who have used our guide:
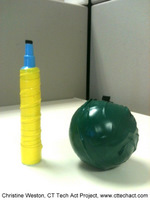
(above) Christine Weston from the CT Tech Act Project made these two styli. She says they both work great. For the round one Christine used a plastic ball from her son’s ball pit. Awesome adaptation for a different grip.
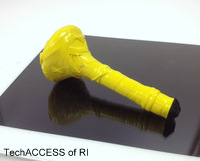
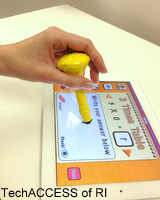
(above) Our own Matthew Provost made this stylus from a child’s paintbrush.
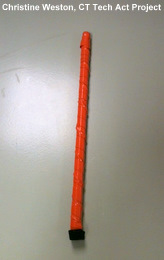
(above) Another great adaptation from Christine Weston from the CT Tech Act Project. This mouthstick stylus accommodates a user that is accustomed to a dowel style for depressing keys.


