Materials Needed:
- Scissors
- Paper
- Color Printer
- Glue stick
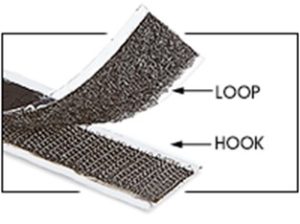
- Velcro (Hook and Loop)
- Laminating Paper
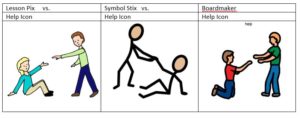
Websites to use to make the icons:
Lesson Pix: http://lessonpix.com/
Symbol Stix: https://www.n2y.com/
Boardmaker online: https://www.boardmakeronline.com/
See icon examples below. The word “help” was not chosen for any specific reason, just displaying the various symbol designs for comparison purposes.
Directions:
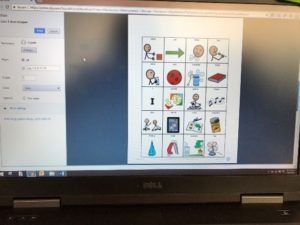
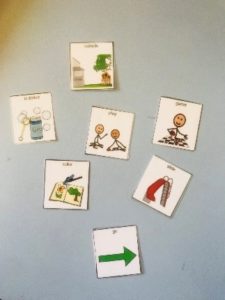
- Choose your vocabulary and create icons. The size, type of pictures and how many that are needed will be dependent on the individual the icons are being created for.
2. Print out the pictures you have made in color
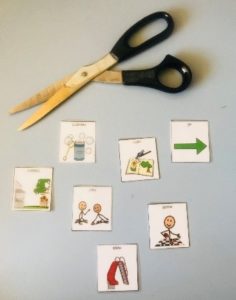
3. Cut out each individual icon so that the laminate will seal around the picture. This helps prevent the pictures from peeling apart.
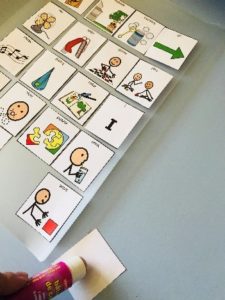
4. Put a little dab of glue on the back of each picture to hold it in place as it goes through the laminator. I recommend using a glue stick over liquid glue, the liquid glue can get very messy and if too much is applied it will stop the laminate from adhering to the paper.
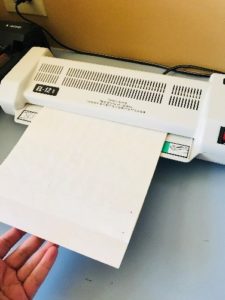
5. Run your pictures through the laminator (put laminate inside carrier before running it through your machine).
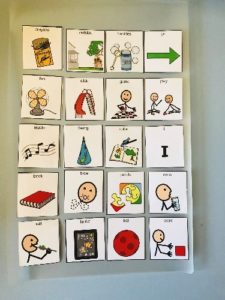
6. Once the pictures have been laminated, cut the individual icons out again
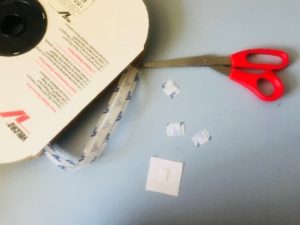
7. Select which side of Velcro will be on the back of the pictures and which will go in the book/board. Cut the Velcro into small pieces approximately a ½”, adhere a piece to the middle of each picture
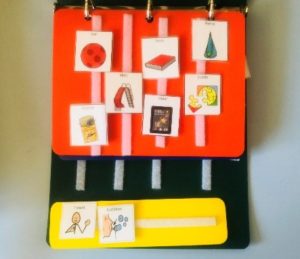
8. Arrange the pictures in your book/on your communication board


